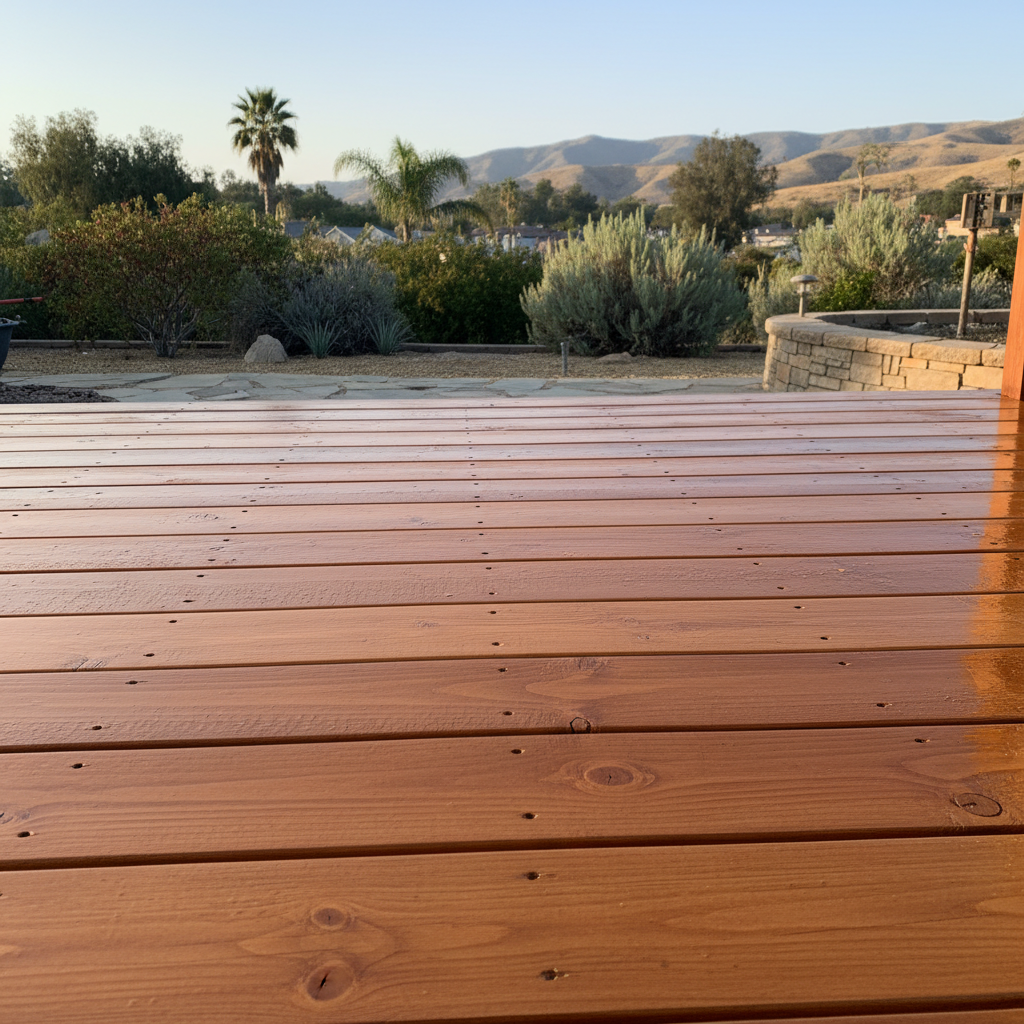
Is Your Vista Deck Ready for a Fresh Coat?
So, you're looking at your deck and thinking it could use a facelift, huh? Maybe it's looking a little faded, or the wood's just not popping like it used to. Painting or staining your deck can make a huge difference, not just in how it looks, but in how long it lasts. But before you run out and buy a gallon of paint, let's talk about what you're really getting into. It's not just slapping on some color; there's a process, and if you skip steps, you'll regret it.
First off, let's clear something up: painting and staining aren't the same. Paint sits right on top of the wood, creating a solid, opaque layer. It's great for covering up imperfections and giving a uniform color. Stain, on the other hand, soaks into the wood. It can be transparent, semi-transparent, or solid, but it still lets some of the wood grain show through. Stains generally protect wood better because they penetrate and condition the wood, while paint can sometimes peel if not prepped perfectly or if moisture gets trapped underneath. For most decks here in Vista, especially with our coastal influence and the way the sun beats down, I usually lean towards a good quality stain for better longevity and a more natural look.
Before You Even Think About Brushes: The Prep Work
This is where most DIY projects go sideways. You can't just paint over dirt, mildew, or old, peeling finish. That's a recipe for disaster, and you'll be doing it all again in a year or two. Trust me, I've seen it a hundred times.
- Clean it Up: Your deck needs to be spotless. I'm talking about removing every speck of dirt, grime, algae, and mildew. A good deck cleaner and a stiff brush are essential. For really stubborn stuff, a pressure washer can be your best friend, but be careful! Too much pressure can damage the wood, especially softer varieties. You want to use a wide fan tip and keep it moving. Don't blast away at one spot.
- Repair Any Damage: Got loose boards? Nails sticking up? Splinters? Fix 'em. Replace any rotted wood. Sand down rough spots. Fill any small cracks with wood filler. If your deck has significant structural issues, you need to address those before you even think about how it looks.
- Strip or Sand Old Finish: If your deck has an old, peeling paint or stain, you absolutely have to remove it. You can use a chemical stripper (follow the directions carefully, and wear protective gear!) or sand it down. Sanding is often the best bet for a smooth, even surface, especially if you're going from paint to stain. For a typical 200-300 sq ft deck, this could take a solid weekend or more.
- Let it Dry: After cleaning or stripping, the wood needs to be bone dry. Give it at least 48 hours of good, sunny weather. If you try to apply finish to damp wood, it won't stick right, and you'll get peeling or bubbling down the line.
Choosing Your Weapon: Paint or Stain?
Like I said, I'm usually a stain guy for decks. Here's why:
- Stain: It soaks in, protects from UV rays and moisture, and often lasts longer without peeling. It also lets the natural beauty of the wood show through. There are different opacities: transparent (just UV protection, no color), semi-transparent (some color, wood grain still visible), semi-solid (more color, less grain), and solid (like a thin paint, but it still penetrates). For decks, a good semi-transparent or solid stain is usually the way to go.
- Paint: Offers complete color change and can hide a lot of imperfections. It's thicker and can be more durable against wear and tear in some cases, but it's also more prone to peeling if the prep isn't perfect or if moisture gets trapped. It also makes future maintenance harder because you'll likely have to strip it all off again if it starts to fail.
Whatever you pick, get a high-quality product designed for exterior decks. Don't skimp here. The cheap stuff won't hold up to our Vista sunshine and occasional dampness.
The Application: Do It Right
Once your deck is prepped and dry, it's time to apply. Read the instructions on your chosen product! They're there for a reason.
- Weather Matters: Pick a day that's not too hot, not too cold, and definitely not windy or rainy. Overcast but dry is often ideal.
- Start with Rails: Always start with the railings and vertical surfaces first, then move to the deck boards. This way, any drips on the boards can be brushed out when you do the main surface.
- Thin Coats: Don't glob it on. Two thin coats are always better than one thick one. It dries better and sticks more consistently.
- Work in Sections: Don't try to do the whole deck at once. Work with a few boards at a time, keeping a wet edge to avoid lap marks.
- Brush, Roller, or Sprayer: For stain, a good quality brush is often best for working it into the wood. Rollers can be faster for large, flat areas, but you'll still want to back-brush to ensure even penetration. Sprayers are super fast but require more masking and can be tricky to get right without drips or overspray.
After the Job: Curing and Maintenance
Once you're done, stay off the deck! Most products need at least 24-48 hours to dry to the touch, but they need several days, sometimes even a week, to fully cure. Don't put furniture back or let pets on it until it's fully cured. Check the product label for specific cure times.
Regular cleaning will help your new finish last longer. Sweep off leaves and debris, and give it a gentle wash with mild soap and water a couple of times a year. Keep an eye out for any areas where the finish might be wearing thin, especially in high-traffic spots. You might be able to do a touch-up coat in a few years without a full re-do if you catch it early.
DIY or Call Genesis Deck Solutions?
So, can you do this yourself? Absolutely. If you're handy, patient, and willing to put in the time for proper prep, you can get a great result. The prep work is the most time-consuming part, but it's also the most critical. If you skip it, you're just wasting your money and time.
However, if your deck is large, has intricate railings, or if the old finish is a real beast to remove, it might be worth calling in a pro. We've got the right tools, the experience, and we can get it done efficiently and correctly. Sometimes, the cost of renting equipment, buying materials, and the sheer amount of your own time adds up, and it just makes sense to have Genesis Deck Solutions handle it. Especially if you've got a multi-level deck or one that's seen better days, a professional job will save you headaches and ensure a finish that really lasts against the Vista elements.
Either way, a well-maintained deck adds value and enjoyment to your home. Just make sure you do it right!